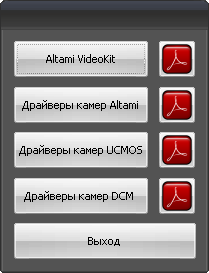
In order to install camera you have to firstly install drivers for it. Launch AutoRun and select in an opened menu Драйверы камер Altami (Driver for Altami cameras).
Select the installer language.
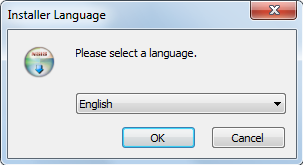
Click OK in order to continue installation or Cancel in order to cancel installation.
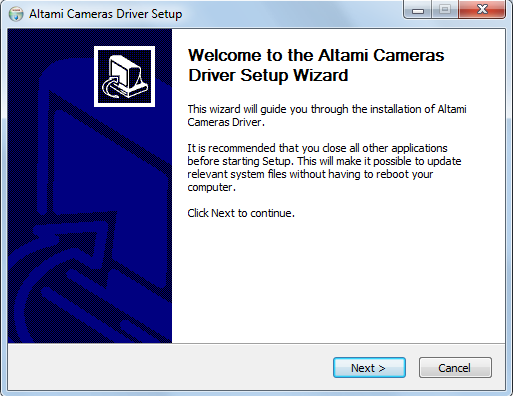
In Congratulations window of installation master click Next in order to continue installation.
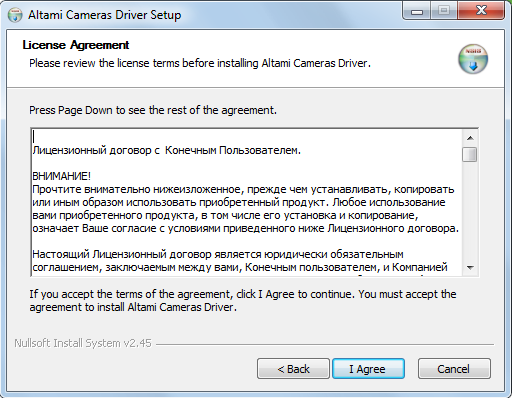
If you want to change something in the previous step, click Back. Learn the License agreement and accept it by clicking I Agree.
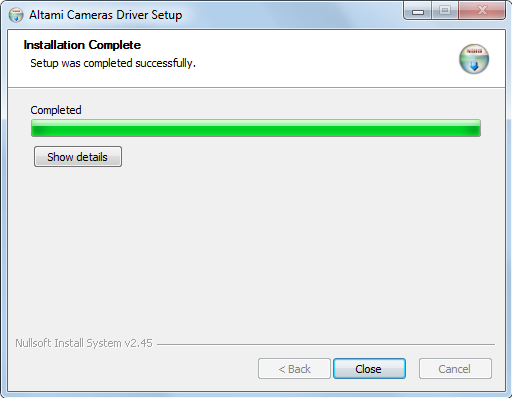
The installer shall unpack files and write them to disc. After installing drivers you shall be able to exit the installer by clicking Close.
Drivers are at the installation disc in InstallDisk→Drivers→Altami. If you want to install them not using AutoRun, use the indicated way and in Altami folder click the Setup icon.
Also, you can download drivers at our site.
After the installing of drivers is finished, launch Altami Studio application and select File→Connect device.
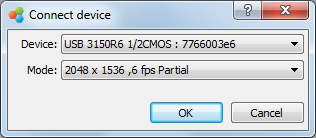
In the devices list of the Device menu find the model of the connected camera, and in the Mode point select the play mode. After that start adjusting the camera.
Settings of cameras Altami USB 3150R6 1/2CMOS, Altami USB 5000R5 1/2.5CMOS and Altami USB 6600R5 1CMOS can be slightly different but with the help of this manual you will be able to adjust any of this cameras by yourself.
There are two main camera settings – white balance and time of image accumulation. White balance is responsible for color transfer, and accumulation time – for image brightness.
You can also adjust quality and appearance of images with the help of the Camera Settings panel. Click the Settings button and you will see the list of parameters which can be changed.
Depending on the camera model, the list of parameters can be different. Settings are standard for photo equipment and influence the color and appearance (gamma, saturation) of the image.
You can adjust the following settings:
1. Place under the microscope an object which is considered to be white.
2. Reset the camera settings. That means, set the parameter values as it is indicated below: RGB:128; Brightness:1; Saturation: 128; Gamma: 20; Shutter: max (parameter responsible for lighting); Gain: 1; Frames Exposure: 0 (parameter responsible for lighting); Bits: High (parameter responsible for lighting).
3. By adjusting microscope lighting move brightness histogram into the center.
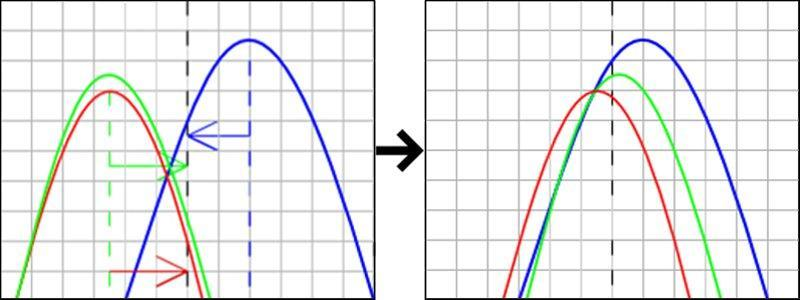
histogram_1.png
4. By sliders R, G and B achieve the situation when peaks of respective components in the center are combined.
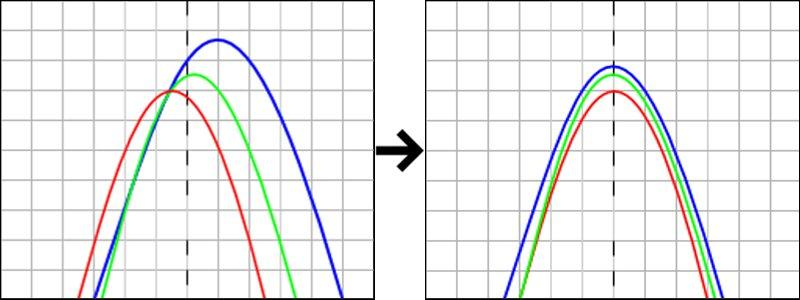
5. Correct the lighting with the microscope.
In order to receive a quality picture from camera it is necessary to adjust the white balance and exposition.
Put a white shit of paper under the camera, connect the camera and receive at screen image of the white sheet. Open panels Camera settings and Histogram. Reset the camera settings. By setting of the microscope lighting we move the lighting histogram to the center. With the help of wb red, wb green, and wb blue reach the situation when at the histogram all three graphs of each color are put at each other (peaks adjustment of the respective components in the center of the histogram). After which we correct the lighting with the microscope.
* In Altami Studio 3.0.0 the possibility of automatic white balance setting for Altami cameras is realized.
The image received from camera by standard settings can be too light or too dark. It is possible to reach the needed intensity with the help of Shutter or Frames exposure settings. Both parameters are the time of frame accumulation. By that, Shutter is a more sophisticate setting. The whole time is determined by the following formula:
t = F • Smax + S,
where F — Frames exposure,
Smax — is a maximum value of the Shutter setting,
S — is the value of the Shutter setting.
The more is t time, the brighter is the picture shown on screen. It is convenient to make rough adjustment with the Frames exposure slider, and after that to correct the received result by the Shutter slider.
It is important to remember that a high value of Frames exposure parameter can essentially decrease speed of stream from camera, and the image can be “slow”.
It is convenient to set image contrast and brightness with the help of the histogram.
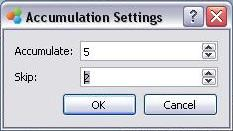
Accumulation setting is used for increasing the quality of the image which is received from camera. It is possible to open the settings window with the help of the menu Capture→Accumulation settings.
It is not desirable to use accumulation and skipping of frames by work with the moving image.
Altami software products work under the most popular modern operating system such as Windows, Linux и Macintosh.
If our products do not solve your problems, we are ready to develop "from scratch" or modify existing applications.
Tired of the slow camera work? Keep up with progress! The camera on USB 3.0! operates at a speed of up to 180 fps.