In order to install the camera, firstly you have to install drivers for it. Launch AutoRun and select in the appeared window the menu item DCM cameras drivers (Драйверы камер DCM).

You will see a window:

Click Next in order to continue installation or Cancel in order to cancel installation.
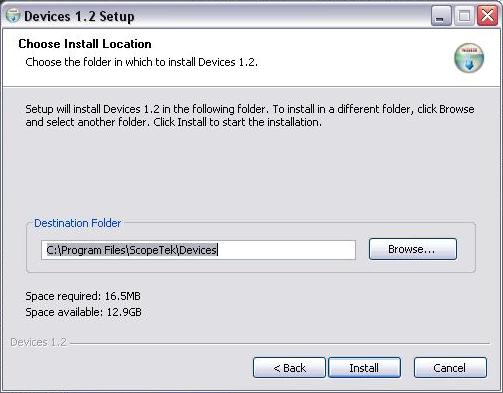
In the next window, Choose Install Location, select the place where you would like to install the application. By default it is the folder at your computer C:\Program Files\ScopeTek\Devices. If you want to change something in the next step of the installation, click Back. If you have indicated the way, click Install.
If during the installation process there appeared a window on compatibility of the application and operating system, click Still continue (Все равно продолжить).

The installer shall unpack files and write them on the disk. After installing the drivers, you will be able to close the installer, having clicked the Finish button.

After the drivers installation is made, launch the Altami Videokit application and select Capture→Connect device....

In the list of the devices of the Device menu find the model of the connected camera, and in the Mode item find the reproducing mode. After that, go to the camera setting.
Settings of DCM-35 and DCM-130E cameras can slightly differ, but with the help of this manual you will be able to adjust any of these cameras on your own.
The application allows to change settings, envisaged by the camera. You will be able to adjust quality and appearance with the help of the Camera Settings panel. Select the menu item Settings→Camera Settings, and you will see the list of parameters which can be changed.

Also, camera settings can be called with the help of clicking the Settings button in the right lower corner of the screen.

The camera settings panel looks the following way:

Settings are standard for photo equipment and influence the quality and appearance (gamma, saturation) of the image. You can make the following settings:
Color.
Exposure.
White balance.
Flip.
Misc.
Clear Preview – this option will show you what the snapshot will look like without saving all settings.
White and black – the image received from camera will be black and white.
The Default button sets all camera settings as standard.
Between the launches the application saves the settings in the system. That means, by the end of the work the application saves all its settings and remembers the camera with which it worked. By the repeated launch the application looks for the camera with which it worked the previous time. If it finds the camera. It launches and shows the stream from it.
Parameters taking Boolean values are controlled by the check box (control element in the square form).
All parameters taking the integer values are changed by means of pulling the slider or setting the value from the keyboard.
Altami software products work under the most popular modern operating system such as Windows, Linux и Macintosh.
If our products do not solve your problems, we are ready to develop "from scratch" or modify existing applications.
Tired of the slow camera work? Keep up with progress! The camera on USB 3.0! operates at a speed of up to 180 fps.